How can I add the PVR to my TV plan?
Adding the cloud PVR service in your customer zone
To add a cloud recording plan to your existing EBOX TV service, log in to your customer zone and click the settings icon in the TV Service section of the home page.
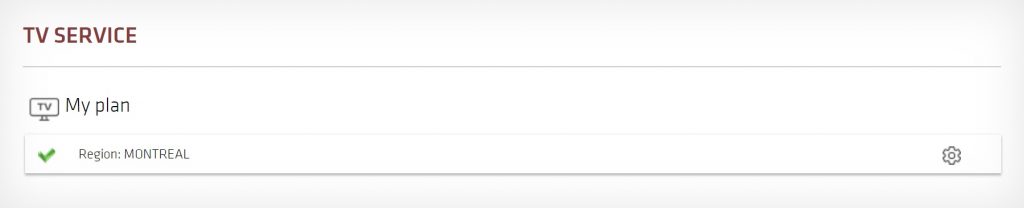
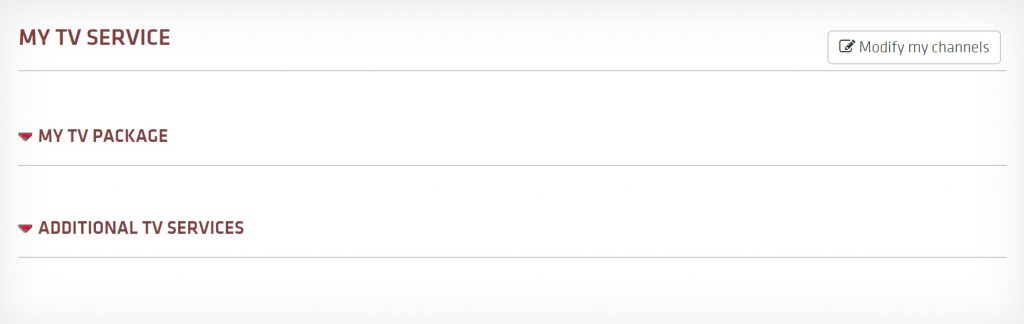
Then, select Modify my channels in the upper right corner of the screen.
On the next page, scroll all the way down to the Manage my additional services section and click on it to open it. To see the price and details of each recording plan, click on the information icon to learn more. Click the Activate button of the plan that suits you to make your selection. Don’t worry! This won’t activate it right away, you’ll still have the opportunity to revise your order before making it final.
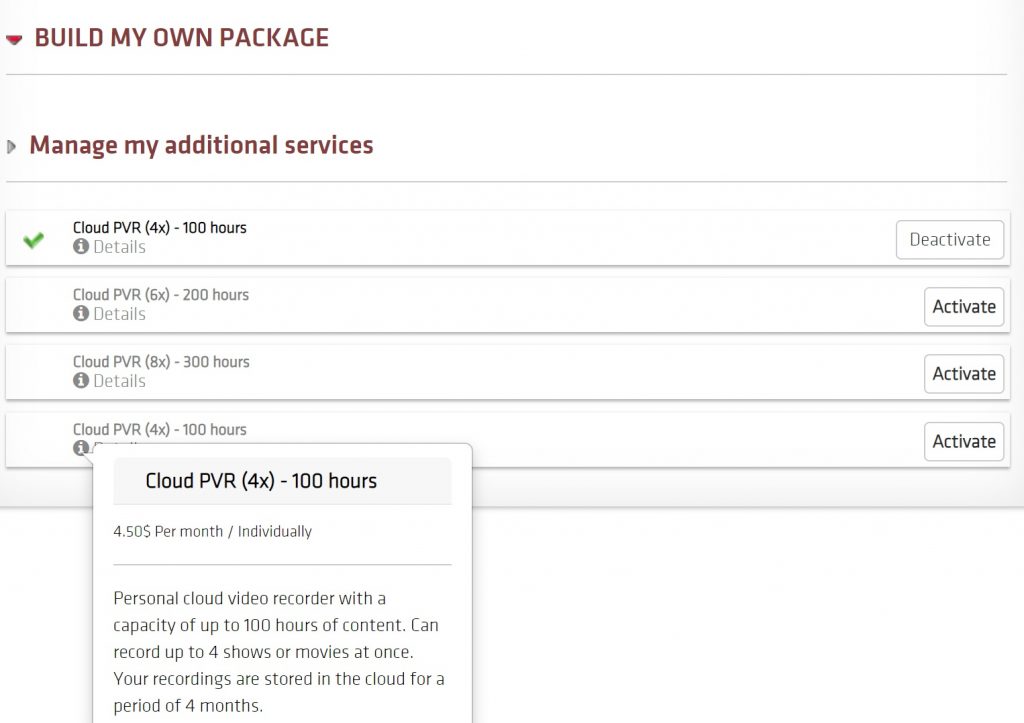
The PVR plan you choose will be added to your selection summary – displayed on the right side of the page – along with your existing plan. To finalize your selection, click Continue.
![]()
An order summary will pop up. The full list of the channels in your plan as well as the PVR plan you selected will be displayed. To submit your order, click the Process order button.

Congratulations! You are now subscribed!
EBOX Internet you want it?
Sign up now